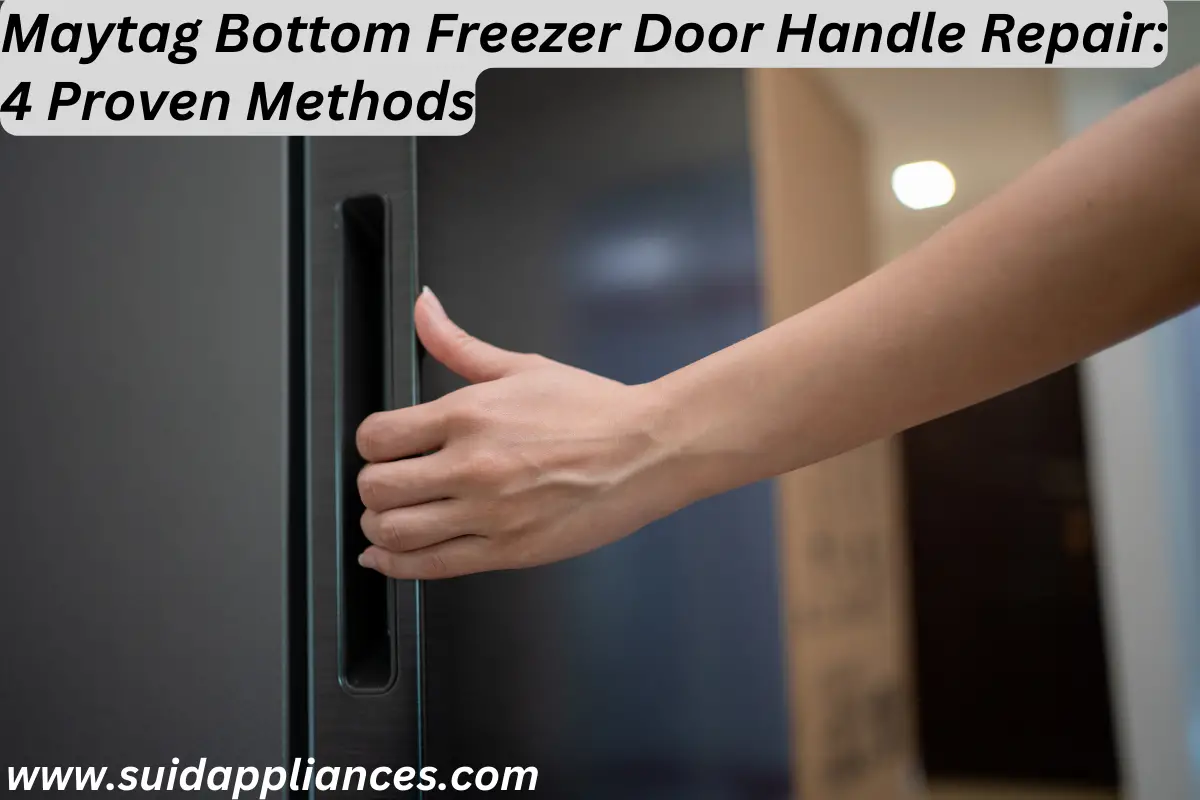
Hey there! If you’re dealing with a broken or malfunctioning handle on your Maytag bottom freezer door, don’t worry—I’ve got you covered.
In this article, I’ll walk you through four proven methods to repair that handle and get your freezer back in working order.
So let’s dive in and get that Maytag bottom freezer door handle back in action!
What are the 4 Maytag Bottom Freezer Door Handle Repair?
You can repair a Maytag bottom freezer door handle using four methods. First, assess the damage and tighten loose screws or bolts. If the handle is beyond repair, you can replace it. Lubrication can solve sticking points or malfunctions.
Key Takeaways
- Tighten loose screws or bolts on the handle
- Lubricate sticking points or malfunctions before repairing or replacing the handle
- Clean and maintain the handle regularly
- Seek professional help for difficult handle issues
Assess the Damage and Determine the Issue
Take a close look at the mangled handle, tracing your fingers along the jagged edges and feeling the weight of frustration settle in your gut as you try to decipher what went wrong. Assessing the damage is crucial before attempting any repairs.
Look for cracks, loose screws, or misalignment. Troubleshooting techniques such as checking for faulty connections or examining the latch mechanism can help determine the issue with your Maytag bottom freezer door handle.
Tighten Loose Screws or Bolts
When encountering a loose handle on a Maytag bottom freezer door, the first step is to locate the screws or bolts that hold it in place. These can typically be found on the backside of the handle or underneath decorative caps. Once located, I recommend using a screwdriver or wrench to tighten them securely.
After tightening, it’s essential to test the handle by pulling and pushing on it to ensure stability and prevent any future issues.
Locate the Screws or Bolts on the Handle
First, you’ll want to carefully inspect the handle of your Maytag bottom freezer to locate the screws or bolts that need to be removed. When it comes to handle maintenance, it’s important to address common handle problems promptly.
By identifying the exact location of the screws or bolts, you can ensure a successful repair.
Take your time and make sure to use the appropriate tools for removing them without causing any damage.
Use a Screwdriver or Wrench to Tighten Them
To ensure a secure and functional handle, simply grab a screwdriver or wrench and tighten the screws or bolts on the handle of your Maytag bottom freezer. Start by checking for any cracks or damage to the handle. If everything looks fine, use lubricating oil for a better grip while tightening the screws or bolts.
Test the Handle to Ensure Stability
Make sure you give the handle a gentle tug to test its stability and ensure it won’t come loose again. Here are four key points to consider when testing the handle for durability and troubleshooting common handle issues:
- Check if the handle feels secure in your hand without any wobbling or looseness.
- Verify that the handle doesn’t make any creaking or cracking noises when pulled.
- Ensure that the handle remains firmly attached to the freezer door even with repeated tugging.
- Confirm that there are no visible signs of damage or wear on the handle after testing.
Repair or Replace a Broken Handle
Replacing a broken handle may be the most efficient solution for restoring functionality to your Maytag bottom freezer. When considering repair options, handle replacement should be at the top of your list. To help you make an informed decision, I have created a table outlining the pros and cons of repairing or replacing a broken handle.
| Repairing | Replacing |
|---|---|
| – Can be cheaper | – Guarantees functionality |
| – Requires specific tools | – Wide range of design options |
| – May not fix underlying issue | – Easy installation process |
By weighing these factors, you can determine whether repairing or replacing is the right choice for your Maytag bottom freezer’s broken handle.
Lubricate Sticking Points or Malfunctions
When it comes to repairing or replacing a broken handle on your Maytag bottom freezer, there are several options available.
However, before jumping to that step, it’s worth trying to lubricate any sticking points or malfunctions. This can often resolve the issue and save you time and money.
In this section, we’ll discuss common causes of freezer door handle malfunctions and provide tips for preventing these issues in the future.
- How to identify common causes of freezer door handle malfunctions
- Step-by-step guide for lubricating sticking points
- Tips for preventing future freezer door handle issues
Clean and Maintain the Handle Regularly
To keep your freezer handle in top shape, it’s important to regularly clean and maintain it.
Cleaning tips for the handle include using a mild soap and warm water solution to remove any dirt or grime. Avoid using harsh chemicals or abrasive materials that may cause damage.
Additionally, make sure to inspect the handle regularly for any signs of wear or loose screws.
Seek Professional Help if Needed
If you’re experiencing any difficulties with your freezer handle, don’t hesitate to seek professional assistance. Sometimes, despite our best efforts, the handle may require more technical expertise than we possess.
A professional can assess the situation and provide troubleshooting techniques that are specific to your Maytag bottom freezer door handle. They’re equipped with the knowledge and tools necessary to properly diagnose and repair any issues, ensuring a long-lasting solution.
Frequently Asked Questions
How do I know if the bottom freezer door handle on my Maytag refrigerator is damaged?
If you’re wondering if your Maytag refrigerator’s bottom freezer door handle is damaged, there are a few signs to look out for. These include loose or wobbly handles, cracks or breaks in the handle, and difficulty opening or closing the door. Don’t worry though, there are repair options available!
Can I use regular household tools to tighten loose screws or bolts on my Maytag bottom freezer door handle?
Yes, you can use regular household tools such as a screwdriver or wrench to tighten loose screws or bolts on your Maytag bottom freezer door handle. This is one of the alternative methods for repairing loose screws or bolts on your Maytag bottom freezer door handle.
Are there any specific replacement parts I need to repair or replace a broken handle on my Maytag refrigerator?
To repair or replace a broken handle on your Maytag refrigerator, you will need specific replacement parts. The handle repair process involves identifying the correct replacement handle and using household tools to remove the old handle and install the new one securely.
What type of lubricant should I use to fix sticking points or malfunctions in the bottom freezer door handle of my Maytag refrigerator?
To fix sticking points or malfunctions in the bottom freezer door handle of your Maytag refrigerator, I recommend using a silicone-based lubricant. Apply a small amount to the affected areas and then test the handle. If issues persist, consider checking for loose screws or contacting a professional for further troubleshooting tips.
How often should I clean and maintain the handle of my Maytag refrigerator to ensure its longevity?
Regular maintenance of the Maytag refrigerator handle is crucial for its longevity. It is important to clean it regularly using mild soap and water, avoiding abrasive cleaners. Wipe dry with a soft cloth to prevent damage and maintain its appearance.
Conclusion
In conclusion, repairing a Maytag bottom freezer door handle can be done using various proven methods. By carefully assessing the damage and determining the issue, you can take appropriate steps to tighten loose screws or bolts or even repair or replace a broken handle.
Additionally, lubricating sticking points or malfunctions and regularly cleaning and maintaining the handle are essential for its longevity. However, if you encounter any difficulties, it’s always wise to seek professional help to ensure the best possible outcome.