Picture this: you’re in the midst of cleaning up after a delicious family dinner, and suddenly you hear an awful grinding noise coming from your garbage disposal.
Panic sets in as you realize that a piece of plastic has somehow made its way into the disposal and is causing all sorts of havoc.
So if you find yourself dealing with a plastic dilemma in your garbage disposal, fear not! Follow these expert tips and you’ll have it cleared up in no time.
Let’s dive right in!
Plastic Stuck in Garbage Disposal? What Should I Do?
Turn off the power and water supply to the disposal, then use pliers or tongs lubricated with dish soap or cooking oil to remove the debris. Clean and reset the disposal, and finally, test its smooth operation. Remember, safety first!
Unravel the truth about Screw Stuck In Garbage Disposal in our recent blog post.
Key Takeaways
- Plastic debris can cause damage and create a grinding noise in the garbage disposal.
- Accidental dropping of small plastic items and improper disposal of plastic bags or wrappers are common causes of plastic getting stuck in the disposal.
- Lubricants like dish soap or cooking oil can help remove the plastic with pliers or tongs by reducing friction.
- Cleaning the disposal and resetting it are necessary steps to remove any residue or debris that may be causing malfunction.
Gather the Necessary Tools and Materials
Now, it’s time to gather all the tools and materials you’ll need to rescue your garbage disposal from that pesky plastic! To prevent plastic from getting stuck in the disposal in the future, it’s important to be mindful of what goes down the drain.
Avoid throwing large pieces of plastic or any non-food items into the disposal. Instead, try using a sink strainer or drain guard to catch any potential debris.
Unravel the truth about Rocks In Garbage Disposal in our recent blog post.
To remove the plastic currently stuck in your garbage disposal, you will need a few things: a pair of sturdy kitchen tongs or pliers, a flashlight, and possibly an Allen wrench.
The tongs or pliers will allow you to safely reach into the disposal and extract the stubborn plastic without damaging anything else around it. The flashlight is essential for providing adequate visibility inside the disposal.
If using tongs or pliers doesn’t do the trick, you may need an Allen wrench. Most disposals have a small hole underneath that can be accessed with an Allen wrench. Inserting this tool and turning it back and forth can help dislodge any jammed plastic.
Remember, if all else fails or you feel uncomfortable attempting these methods yourself, don’t hesitate to call a professional plumber who can expertly handle the situation.
Have you ever wondered about Whirlaway Garbage Disposal Reset? Find out more in our latest post.
Turn Off the Power and Water to the Disposal
To help you better understand why plastic gets stuck in the garbage disposal and how to prevent it from happening again, here are some common causes and preventative measures:
Common causes of plastic getting stuck in the garbage disposal:
- Accidental dropping of small plastic items such as bottle caps or utensils.
- Improper disposal of plastic bags or wrappers that can get tangled in the blades.
- Using the garbage disposal as a substitute for a trash can.
Preventative measures to avoid plastic getting stuck in the garbage disposal:
- Always double-check before turning on the disposal that there are no small plastic items near it.
- Dispose of plastics properly by recycling or throwing them in a trash can instead.
- Avoid putting large amounts of plastic materials into the garbage disposal at once.
By following these tips, you can minimize the chances of having plastic stuck in your garbage disposal again. Remember, safety first!
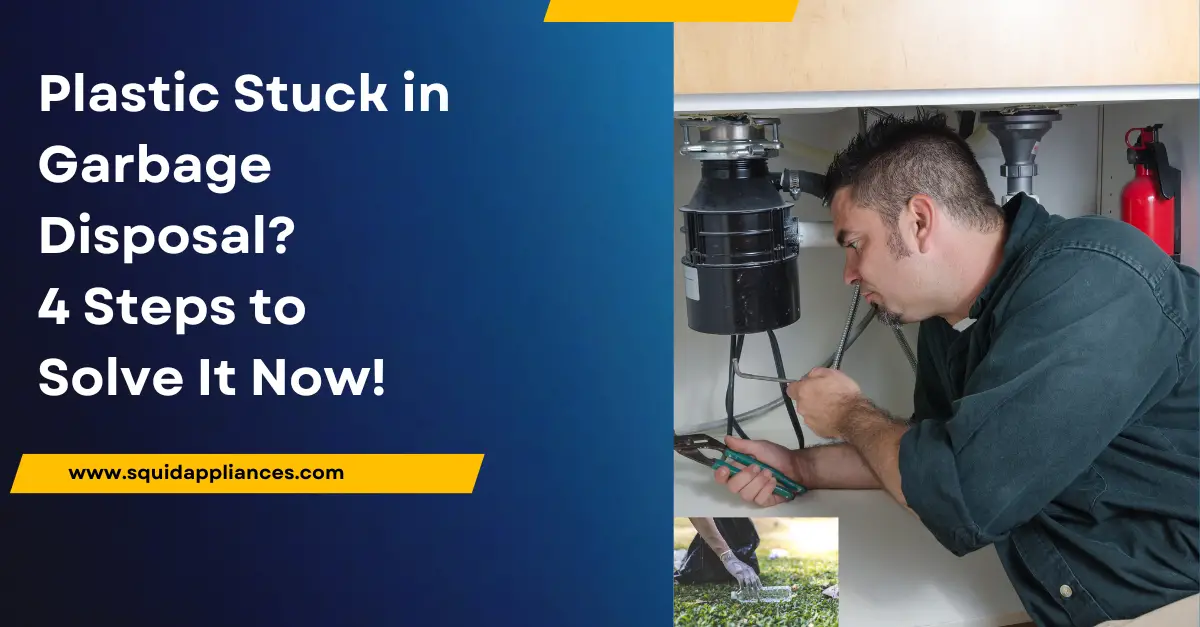
Remove the Plastic Debris with Pliers or Tongs
In the quest to rescue your kitchen from an insidious grasp, a pair of trusty pliers or tongs shall emerge as the valiant heroes, ready to vanquish the stubborn intruder lurking within.
When plastic debris gets stuck in your garbage disposal, it can be a frustrating experience. However, with the right tools and techniques, you can easily remove it and restore your disposal to its full functionality.
One method of removing plastic debris is by using lubricants. Apply a small amount of dish soap or cooking oil around the edges of the stuck plastic. This will help reduce friction and make it easier to dislodge the debris using pliers or tongs. Gently wiggle and pull on the plastic until it comes free.
Another option is to use a vacuum cleaner to suck out the plastic debris. Attach a flexible hose attachment to your vacuum cleaner and carefully insert it into the disposal chamber. Move it around to create suction and draw out any loose pieces of plastic.
To better illustrate these methods, here’s a table with step-by-step instructions:
| Step | Method |
|---|---|
| 1 | Apply lubricant around stuck plastic |
| 2 | Use pliers or tongs to wiggle and pull on the debris |
| 3 | Alternatively, use a vacuum cleaner with a hose attachment to suck out loose pieces |
| 4 | Alternatively, use a vacuum cleaner with hose attachment to suck out loose pieces |
By following these steps and utilizing lubricants or a vacuum cleaner, you can effectively remove plastic debris from your garbage disposal without causing further damage.
Clean and Reset the Disposal
To restore the functionality of your kitchen sink, give the disposal a thorough cleaning and reset it. Cleaning the disposal is essential to remove any residue or debris that may be causing it to malfunction. Start by turning off the power to the disposal at the circuit breaker.
Then, use a flashlight to inspect the inside of the unit for any remaining plastic debris. If you see any, carefully remove it using pliers or tongs as mentioned in our previous subtopic.
Next, clean the disposal thoroughly using a mixture of dish soap and warm water. Pour half a cup of dish soap into the disposal and let it sit for a few minutes to break down any grease or grime. Then, scrub all areas inside with a cleaning brush or an old toothbrush.
Once you have finished cleaning, run cold water through the disposal for about 30 seconds to rinse away any remaining residue. Finally, reset the unit by pressing the reset button located at its bottom or on its side.
To prevent future clogs in your garbage disposal, avoid putting large amounts of plastic or other non-food items down it. Also, remember to always run cold water while using it and periodically clean and maintain your disposal using these cleaning techniques I just described.
Test the Disposal to Ensure it is Working Properly
Check if the disposal is working properly by flipping the switch and listening for any unusual noises or vibrations.
A well-functioning garbage disposal should have a smooth operation without any grinding or clanking sounds. If there are any issues, it may indicate that there is still plastic stuck in the disposal or that it has been damaged by the blockage.
To further diagnose the problem, you can use a simple test to check for blockages.
First, turn off the power to the disposal at your home’s circuit breaker panel. Then, insert an Allen wrench into the hole at the bottom of the disposal and manually rotate it back and forth. This action will help dislodge any remaining plastic debris.
Common causes of garbage disposal blockages include putting large pieces of plastic down the drain, not running enough water while operating the disposal, and neglecting regular maintenance.
To prevent future blockages in your garbage disposal, always cut plastics into small pieces before disposing of them, and remember to run plenty of water when using your disposal.
| Common Causes of Garbage Disposal Blockages | Preventing Future Blockages in Your Garbage Disposal |
|---|---|
| Putting large pieces down drain | Cut plastics into small pieces |
| Not running enough water | Run plenty of water while using |
| Neglecting regular maintenance | Perform routine cleaning and maintenance |
By following these steps and taking precautions against future blockages, you can ensure that your garbage disposal operates smoothly without any plastic stuck inside.
Frequently Asked Questions
What are some common household items that can be used as alternatives to pliers or tongs for removing plastic stuck in the garbage disposal?
When faced with plastic stuck in the garbage disposal, I’ve found that household alternatives like chopsticks or a wooden spoon can be surprisingly effective for removing it.
Can I use any type of cleaner to clean the garbage disposal after removing the plastic debris?
Yes, it is safe to use bleach to clean the garbage disposal after removing plastic debris. However, it should be diluted and not used too frequently to prevent damage. Cleaning once a week can help prevent debris buildup.
Is it necessary to turn off the water supply to the entire house or just to the garbage disposal when removing the plastic debris?
No need to shut off the water supply, just turn off the garbage disposal before removing plastic. It’s best to remove debris immediately to prevent further damage. Wearing gloves is recommended for safety purposes.
How long should I wait before testing the disposal after cleaning and resetting it?
After cleaning and resetting the garbage disposal, it is recommended to wait at least 5 minutes before testing it. This allows time for any debris or obstructions to clear and ensures proper functioning.
Are there any precautions I should take when turning off the power to the garbage disposal?
When turning off the power to your garbage disposal, it’s crucial to prioritize safety. Take precautions by shutting off the electricity at the breaker and wearing protective gear. Remember: “Better safe than sorry.”
Conclusion
In conclusion, removing plastic stuck in your garbage disposal can be a relatively simple task if you follow the right steps and use the appropriate tools. By turning off the power and water to the disposal, carefully removing the plastic debris with pliers or tongs, cleaning and resetting the disposal, and testing it afterward to ensure proper functioning, you can effectively resolve this issue.


2 thoughts on “Plastic Stuck in Garbage Disposal? 4 Steps to Solve It Now!”