Like a hidden landmine waiting to explode, rocks in your garbage disposal can wreak havoc on your kitchen plumbing system. Removing these stubborn invaders is not only necessary for the smooth operation of your disposal but also crucial to prevent potential damage and costly repairs.
I have dealt with numerous instances of rocks obstructing the garbage disposal over the past couple of years. Today, I’m here to take you through the process of removing rocks from your garbage disposal.
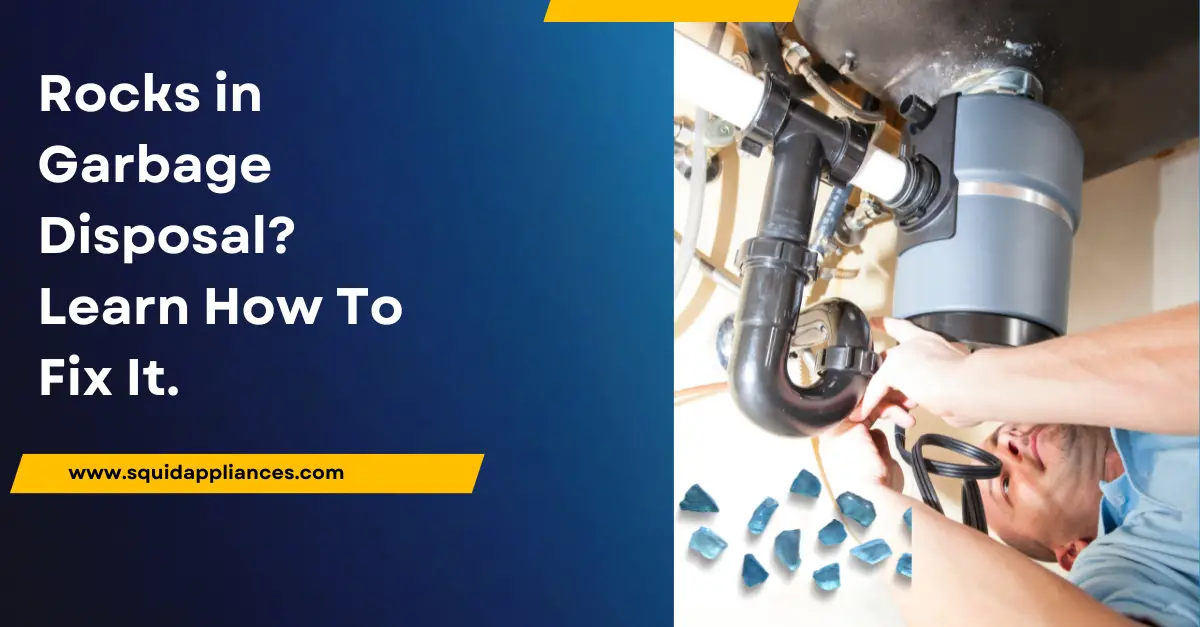
Rocks in Garbage Disposal? What Should I Do?
Promptly remove the rock using long-handled tongs or a wet/dry vacuum. Remember, garbage disposals aren’t designed for rocks, so avoid disposing of them. Regularly inspect and maintain your disposal, and educate household members about proper disposal technique.
Are you making these common mistakes with Whirlaway Garbage Disposal Reset? Find out here.
Key Takeaways
- Rocks in garbage disposal can cause damage and costly repairs to the kitchen plumbing system
- Removing rocks from garbage disposal is necessary for smooth operation and to prevent damage
- Proper garbage disposal maintenance is crucial for preventing clogs and keeping the kitchen running smoothly
- Garbage disposals are not designed for rocks, avoid disposing of them
Identify the Presence of Rocks in Your Garbage Disposal
You’ll want to take a moment and really feel for any rocks in your garbage disposal – it’s like a little treasure hunt that’ll help you keep your kitchen running smoothly! Identifying the presence of rocks in your garbage disposal is crucial to prevent potential damage.
There are signs you can look out for that indicate rocks may be causing harm. Firstly, if you hear loud grinding or rattling noises when the disposal’s on, it could be a clear indication of rocks being present.
Another sign is if the disposal becomes jammed frequently or stops working altogether. Rocks can get lodged in the blades or other components, preventing proper functioning.
You can collect the rocks in a sturdy bag and dispose of them at a designated rock collection site or contact your local waste management facility for guidance on proper disposal methods.
By being vigilant and proactive about identifying and removing rocks from your garbage disposal, you can avoid costly repairs and maintain a well-functioning kitchen environment.
Need clarity on How To Get A Fork Out Of The Garbage Disposal? Our expert guide can help.
Gather the Necessary Tools for the Removal
To effectively tackle this task, it’s important to gather the tools needed for rock removal from your disposal. Did you know that approximately 50% of households encounter issues with their garbage disposals due to improper use?
Preventing clogs and keeping your kitchen functioning smoothly requires garbage disposal maintenance. Using the correct equipment makes removing rocks easier when troubleshooting frequent disposal concerns.
First, use a flashlight to inspect your waste disposal. This will assist identify problem rocks.
For carefully extracting rocks from the disposal, use long-handled tongs or pliers. A bucket or large container is also recommended to catch debris during removal. This will reduce damage and simplify cleanup.
Finally, working on your garbage disposal requires gloves to protect your hands from sharp edges and dirt.
By gathering these necessary tools, you will be equipped to successfully remove rocks from your garbage disposal and ensure its proper functioning.
Thinking of Metal Stuck In Garbage Disposal? Read this or you might end up making a costly mistake.
Safely Remove the Rocks from Your Garbage Disposal
In order to safely extract the rocks from your disposal, it’s essential to exercise caution and follow these steps meticulously.
One method is using long-handled tweezers or tongs to carefully reach into the disposal and grab hold of the rocks. Make sure to wear protective gloves during this process to avoid any injuries.
Another technique is utilizing a wet/dry vacuum with a narrow attachment. This allows you to suction out the rocks without damaging the disposal.
Once you have successfully removed all the rocks, it’s important to perform some basic disposal maintenance. Start by running cold water for a few minutes while turning on the disposal. This helps flush out any remaining debris and ensures that everything is functioning properly.
Additionally, periodically cleaning your garbage disposal with a mixture of ice cubes and vinegar can help prevent future clogs and keep it smelling fresh.
Understanding how to remove rocks from your garbage disposal and maintaining their proper function is crucial for preventing potential damage or costly repairs.
By following these removal techniques and practicing regular maintenance, you can ensure that your garbage disposal remains in optimal condition for years to come.
Understand the Potential Impact of Rocks on Your Disposal System
One potential issue rocks can cause is damage to the blades and motor of your disposal system, leading to costly repairs.
Rocks aren’t meant to be processed by garbage disposals, which are designed to handle soft food waste. When rocks enter the disposal unit, they can get stuck in the blades or jam the motor, causing it to overheat or break down completely.
To prevent this from happening and understand the potential risks associated with rocks in your disposal system, consider the following:
- Avoid disposing of rocks: It’s important to remember that garbage disposals aren’t designed for hard objects like stones or pebbles. Dispose of these materials through proper methods such as recycling or landfill.
- Inspect before use: Before using your garbage disposal, visually inspect it for any foreign objects that may have accidentally fallen inside. This simple step can help you avoid potential damage caused by rocks.
- Practice proper maintenance: Regularly clean and maintain your garbage disposal by flushing it with water and using natural cleaners like vinegar and baking soda. This’ll help keep the unit in good working condition and reduce the risk of damage from unexpected objects.
Understanding the potential impact of rocks on your disposal system is crucial for its longevity and performance.
By following these tips and practicing proper disposal methods, you can prevent costly repairs and ensure a smooth functioning appliance for years to come.
Prevent Future Rock-related Clogs and Damage
Take proactive steps to avoid future clogs and damage caused by rocks in your disposal system. Preventive measures can save you from the hassle of dealing with malfunctioning garbage disposal and costly repairs.
By following proper disposal techniques, you can ensure the longevity of your system and prevent unnecessary blockages.
One effective preventive measure is to always scrape off excess food scraps into the trash before rinsing dishes in the sink. This helps minimize the amount of debris that enters the disposal unit, reducing the chances of rocks getting stuck.
To further enhance protection against rock-related clogs, consider installing a mesh or strainer over your sink’s drain opening. These inexpensive devices act as barriers, catching any larger particles before they reach the disposal system.
Here is a table summarizing preventive measures and proper disposal techniques:
| Preventive Measures | Proper Disposal Techniques |
|---|---|
| Scrape off excess food | Separate large debris |
| Educate household members | Avoid putting rocks |
| Use a mesh or strainer | Rinse plates thoroughly |
By implementing these simple yet effective practices, you can maintain a rock-free garbage disposal system and prolong its lifespan. Remember, prevention is key when it comes to preserving your kitchen’s functionality.
Frequently Asked Questions
Can I use any household tools to remove rocks from my garbage disposal?
I can use household tools to remove rocks from my garbage disposal, but I must take safety precautions. It’s important to turn off the power and avoid using bare hands. Using pliers or tongs can help safely extract the rocks.
How often should I check for rocks in my garbage disposal?
I recommend checking for rocks in your garbage disposal at least once a month as part of regular maintenance. This will help prevent damage and ensure optimal performance. Follow these maintenance tips to keep your disposal running smoothly.
Can rocks in my garbage disposal cause damage to my plumbing system?
Rocks in your garbage disposal can cause serious damage to your plumbing system. They can affect the performance of the disposal, leading to clogs and breakdowns. Safely removing rocks is crucial to avoid costly repairs.
What are the signs that my garbage disposal is damaged due to rocks?
Warning signs of damage from rocks in your garbage disposal include strange noises, vibrations, and a decrease in performance. Troubleshooting steps may involve inspecting the blades for damage or clogs and contacting a professional if necessary.
Are there any alternative methods to prevent rock-related clogs in my garbage disposal?
To prevent rock-related clogs in your garbage disposal, you can take preventive measures such as avoiding putting rocks down the drain. If you’re unsure, it’s best to consult professional assistance for guidance and maintenance.
Conclusion
In conclusion, it’s crucial to promptly remove rocks from your garbage disposal to prevent clogs and damage. By identifying their presence and using the necessary tools, you can safely eliminate these obstructions.


2 thoughts on “Rocks in Garbage Disposal? Learn How To Fix It.”