I’m here to help you troubleshoot and fix the frustrating issue of a locked Taylor ice cream machine freezer. When your freezer is locked, it can be incredibly frustrating and disrupt your business operations.
But fear not, because I have five quick fixes that will get your machine back up and running in no time.
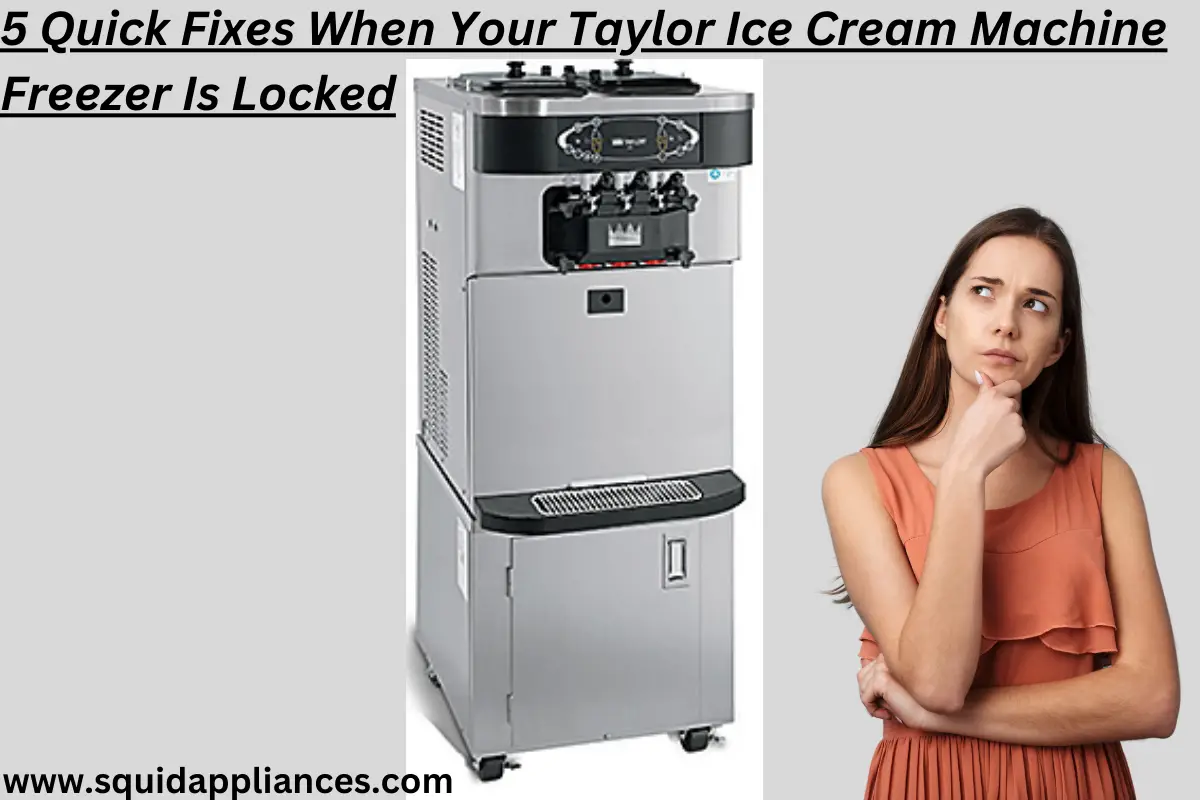
What are the 5 Quick Fixes When Your Taylor Ice Cream Machine Freezer Is Locked?
To maintain your freezer, check the power source and clean the fan motor. Defrost it safely, clean condenser coils regularly, and adjust thermostat settings. Promptly replace faulty parts like the motor or thermostat to ensure optimal performance.
Key Takeaways
- Check power source and connections
- Defrost the freezer if necessary
- Clean condenser coils regularly
- Inspect and replace faulty parts promptly
Check the Power Source
You’ll want to make sure you’ve checked the power source, so you can get your Taylor ice cream machine freezer back up and running in no time!
Start by checking the electrical connections of your machine. Make sure all plugs are securely inserted into their respective outlets. Inspect the power cord for any visible damage or frayed wires.
If everything appears to be in order, move on to inspecting the fan motor. Locate the fan motor, usually located at the back of the machine. Check if it’s spinning freely and not obstructed by any debris or ice buildup.
If necessary, clean the motor and remove any obstructions that may be preventing it from operating properly.
Defrost the Freezer
To defrost the freezer, start by unplugging it and allowing the frost to melt away naturally. This is a common issue with Taylor ice cream machine freezers, and troubleshooting tips can help solve it quickly.
When the freezer becomes locked due to excessive frost buildup, it’s important to address the problem promptly. Begin by turning off the power and unplugging the machine from its power source.
Next, remove any frozen items from inside the freezer and place them in a separate insulated container to keep them cold.
Once all items have been removed, leave the freezer door open to allow warm air to circulate and expedite the defrosting process. Avoid using any sharp objects or heat sources to speed up melting, as this may damage internal components of the machine.
After several hours, check if all the frost has melted before plugging in and restarting the machine. By following these steps, you can effectively defrost your Taylor ice cream machine freezer and get back to serving delicious frozen treats in no time!
Clean the Condenser Coils
Start by unplugging the machine and allowing the condenser coils to be cleaned thoroughly. The condenser coils are an essential component of your Taylor ice cream machine freezer, as they help remove heat from the system.
Over time, these coils can become dirty and clogged with dust and debris, which can lead to poor performance and a locked freezer. To clean the condenser coils effectively, follow this cleaning schedule:
| Step | Cleaning Process |
|---|---|
| 1 | Turn off the machine and unplug it from the power source |
| 2 | Use a soft brush or vacuum cleaner to remove loose dirt and dust from the coils |
| 3 | Gently wipe down the coils with a damp cloth soaked in mild detergent solution |
| 4 | Rinse the cloth and wipe away any remaining residue or soap |
| 5 | Allow the coils to dry completely before plugging in and restarting your machine |
Check the Thermostat Settings
Make sure the thermostat settings on your Taylor ice cream machine are properly adjusted for optimum performance. To ensure you have the correct temperature for freezing your ice cream, follow these troubleshooting techniques:
- Check the display: Make sure the temperature displayed on the machine matches the desired setting.
- Adjust temperature: Use the up and down buttons to adjust the temperature according to your recipe requirements.
- Allow time for stabilization: After adjusting the temperature, give it some time to stabilize before checking if it’s freezing properly.
- Monitor consistency: Keep an eye on the texture of your ice cream as it freezes. If it’s too soft or too hard, make further adjustments to achieve the desired consistency.
Inspect and Replace Faulty Parts
Inspecting and replacing faulty parts is crucial for ensuring the optimal performance of your Taylor ice cream machine. When troubleshooting issues with your machine, it’s important to consider common problems that may arise.
One common issue is a malfunctioning motor, which can cause the freezer to lock up. To address this, carefully inspect the motor for any signs of damage or wear and tear. If you notice any issues, such as a burnt smell or excessive noise, it may be necessary to replace the motor.
Another potential problem could be a faulty thermostat, which can lead to incorrect temperature readings and freezing problems. In this case, check the thermostat settings and ensure they’re correctly calibrated. If needed, replace the thermostat with a new one that matches your machine’s specifications.
Frequently Asked Questions
How do I unlock my Taylor ice cream machine freezer?
To unlock a Taylor ice cream machine freezer, first check if the power is on and the control panel is functioning properly. If not, troubleshoot by checking the circuit breaker and ensuring all connections are secure.
Why is my Taylor ice cream machine freezer not freezing properly?
Common reasons for Taylor ice cream machine freezer malfunction include low refrigerant levels, dirty condenser coils, or a faulty thermostat. Troubleshooting tips for a Taylor ice cream machine freezer not freezing properly include checking the temperature settings, cleaning the coils, and ensuring proper ventilation.
How often should I clean the condenser coils in my Taylor ice cream machine freezer?
I clean the condenser coils in my Taylor ice cream machine freezer every 6 months to prevent common condenser issues. Regular cleaning frequency ensures optimal performance and helps avoid potential malfunctions or freezing problems.
What can cause the thermostat settings in my Taylor ice cream machine freezer to malfunction?
Common thermostat problems in Taylor ice cream machine freezers can include inaccurate temperature readings, failure to cycle on or off, and improper calibration. Troubleshooting thermostat issues involves checking connections, adjusting settings, and potentially replacing the thermostat if necessary.
How can I identify if any parts in my Taylor ice cream machine freezer are faulty and need replacement?
To identify faulty parts in my Taylor ice cream machine freezer, I can follow troubleshooting tips. Common signs of faulty parts include unusual noises, inconsistent freezing, leaks, and error messages on the display panel.
Conclusion
In conclusion, when facing a locked Taylor ice cream machine freezer, it’s important to troubleshoot and address the issue promptly.
By checking the power source, defrosting the freezer, cleaning the condenser coils, adjusting the thermostat settings, and inspecting and replacing faulty parts if necessary, you can resolve the problem efficiently.